Yard Machine 3.5 HP Edger Manual: A Comprehensive Guide
Canva, a versatile graphic design platform, empowers users with ease and flexibility, offering tools for photo editing, video creation, and diverse design projects.
The Yard Machine 3.5 HP Edger is a popular choice for homeowners seeking a reliable and effective tool for maintaining pristine lawn edges. This manual serves as a comprehensive guide, designed to assist users in safely assembling, operating, and maintaining their edger for optimal performance and longevity. Like Canva, a platform known for its user-friendly design, this manual aims to simplify the process of understanding and utilizing your Yard Machine edger.
This edger, powered by a robust 3.5 horsepower Briggs & Stratton engine, delivers the power needed to create clean, professional-looking edges along sidewalks, driveways, and flowerbeds. Whether you’re a seasoned landscaper or a first-time edger user, this guide provides detailed instructions and helpful tips to ensure a satisfying experience. Just as Canva offers tools for diverse creative projects, this edger offers versatility in lawn care. Proper use and maintenance, as outlined within, will maximize the edger’s efficiency and minimize potential issues.
Safety Precautions and Warnings
Prior to operating the Yard Machine 3.5 HP Edger, carefully review and understand all safety precautions outlined in this manual. Like utilizing Canva’s features responsibly, safe operation is paramount. Always wear appropriate safety gear, including eye protection, sturdy footwear, and hearing protection. Never operate the edger with missing or damaged parts.
Keep children and pets away from the work area during operation. Be mindful of bystanders and ensure a safe operating distance. Never place hands or feet near the rotating blade. Disconnect the spark plug wire before performing any maintenance or adjustments. Avoid operating the edger in wet or slippery conditions. Just as Canva emphasizes responsible content creation, responsible edger operation prevents injuries. Always refuel the engine in a well-ventilated area and allow it to cool completely before refueling. Follow all local safety regulations.
Understanding the Edger Components
The Yard Machine 3.5 HP Edger comprises several key components working in unison. Similar to Canva’s integrated design tools, each part plays a crucial role; The engine, a 3.5 HP Briggs & Stratton, provides the power. The blade, responsible for cutting, is attached to a rotating shaft. The frame provides structural support and houses the engine and wheel assembly.
The wheel assembly allows for maneuverability and controls the cutting depth. A depth adjustment lever enables precise control over the edging height. The handle provides a comfortable grip for operation. Familiarize yourself with the location and function of each component before use. Understanding these parts, much like mastering Canva’s interface, is essential for efficient and safe operation. Refer to the parts diagram for a detailed visual representation of each component and its corresponding number.
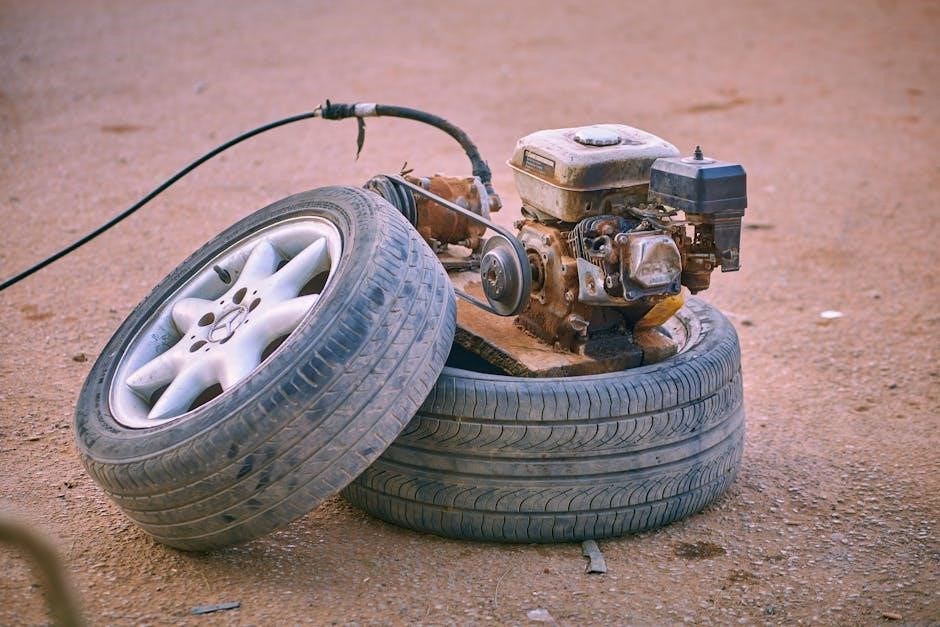
Engine Overview: 3.5 HP Briggs & Stratton
The Yard Machine 3.5 HP edger is powered by a reliable Briggs & Stratton engine, known for its durability and performance – akin to Canva’s consistent design output. This 3.5 horsepower, single-cylinder engine provides ample power for most residential edging tasks. It’s a four-stroke engine, requiring both oil and gasoline for operation.
The engine features a recoil starter for easy starting, and typically includes a choke and throttle control. Regular maintenance, including oil changes and spark plug replacement, is crucial for optimal engine performance. Understanding the engine’s basic operation, similar to understanding Canva’s design elements, will help you troubleshoot potential issues. Always refer to the Briggs & Stratton engine manual for detailed specifications and maintenance schedules. Proper fuel stabilization is vital for storage, preventing fuel degradation.
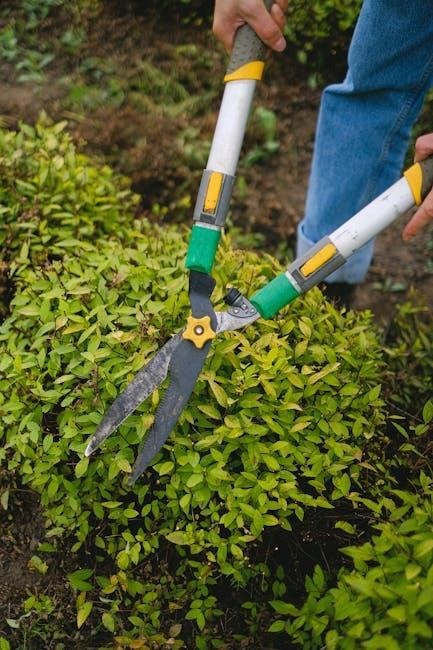
Blade and Cutting System Details
The Yard Machine 3.5 HP edger utilizes a single, vertically oriented blade to create clean, defined edges. This blade, much like the tools within Canva, is central to the machine’s function. Typically made of hardened steel, the blade rotates at high speed to slice through grass and soil. The cutting depth is adjustable, allowing users to customize the edge’s appearance.
Regular blade sharpening is essential for maintaining a clean cut and preventing the engine from being overworked. A dull blade tears grass instead of cutting it, resulting in an uneven edge. Blade replacement is also necessary when the blade becomes damaged or worn. Always disconnect the spark plug before performing any blade maintenance, ensuring safety – a principle as important as secure design practices in Canva.
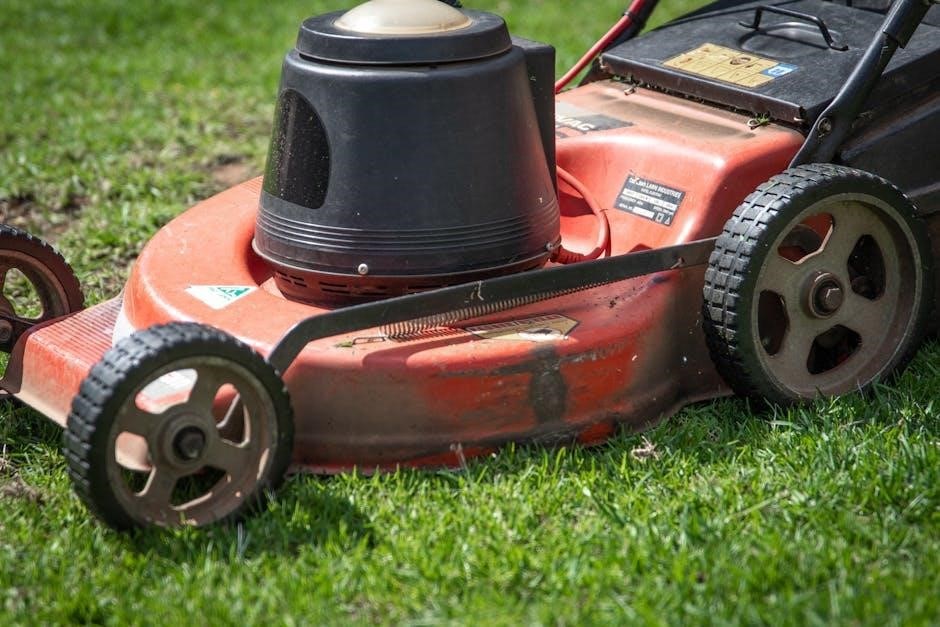
Frame and Wheel Assembly
The Yard Machine 3.5 HP edger features a robust frame, typically constructed from steel, designed to withstand the stresses of edging. This frame provides stability and supports the engine, blade, and wheel assembly. The wheels, usually made of durable plastic or rubber, allow for easy maneuverability across various terrains. Similar to the user-friendly interface of Canva, the edger’s design prioritizes ease of use.
The wheel height is often adjustable, enabling users to control the edging depth and adapt to uneven surfaces. Proper wheel alignment is crucial for smooth operation and a consistent edge. Inspect the wheels regularly for damage or wear, and ensure they rotate freely. A well-maintained wheel assembly contributes significantly to the edger’s overall performance and longevity, much like a solid foundation supports a creative project in Canva.
Assembly Instructions
Assembling your Yard Machine 3.5 HP edger requires careful attention to detail. Begin by unpacking all components and verifying against the parts list. Attach the handle to the main frame using the provided bolts and washers, ensuring a secure fit. Next, connect the wheel assembly, again confirming proper alignment and tightening all fasteners. This process, while requiring some effort, is akin to building a design in Canva – a step-by-step process leading to a finished product.
Before proceeding, double-check all connections for stability. Refer to the diagram in the manual for visual guidance. Avoid over-tightening bolts, as this could damage the frame. Once assembled, inspect the blade mounting area to ensure it’s clear of debris. A properly assembled edger will operate safely and efficiently, much like a well-structured design in Canva will effectively communicate its message;
Attaching the Blade
Securing the blade to your Yard Machine 3.5 HP edger is a critical step for safe and effective operation. Always disconnect the spark plug wire before handling the blade to prevent accidental starting. Position the blade onto the mounting hub, ensuring the cutting edge faces the correct direction – typically outward and downward. Align the blade holes with the corresponding studs on the hub.
Fasten the blade using the provided nut and washer, tightening it securely with a wrench. Refer to the manual for the specified torque value; over-tightening can damage the blade or hub. Similar to refining a design in Canva, precision is key. Double-check that the blade is firmly attached and doesn’t wobble. A loose blade poses a significant safety hazard. Once secure, reconnect the spark plug wire before proceeding.
Adjusting the Cutting Depth
Controlling the cutting depth on your Yard Machine 3.5 HP edger allows you to tailor the edging process to different terrains and desired results. Locate the depth adjustment lever or wheel, typically found near the rear wheel assembly. This control regulates how far the blade extends below the edger housing.
For a shallow edge, move the lever towards the ‘less’ or ‘shallow’ setting. This is ideal for delicate areas or softer ground. For a deeper, more defined edge, adjust the lever towards the ‘more’ or ‘deep’ setting. Similar to fine-tuning a Canva design, small adjustments can make a big difference. Always test the depth on a small, inconspicuous area first. Ensure the adjustment mechanism is securely locked in place before operating the edger to prevent unwanted changes during use.
Starting the Edger
Before starting your Yard Machine 3.5 HP edger, ensure the blade is properly attached and the area is clear of debris. Confirm the fuel tank contains fresh gasoline and the oil level is adequate – referencing the engine manual is crucial. Begin by engaging the blade control lever, which activates the blade rotation when the engine is running.
Next, follow the priming and choke procedures (detailed in subsequent sections). Grasp the starter rope handle firmly and pull with a smooth, controlled motion. Avoid jerking the rope, as this can damage the starter mechanism. Like perfecting a Canva creation, patience is key. Repeat the pulling motion until the engine starts. Once running, gradually disengage the choke and allow the engine to warm up before beginning edging operations.
Priming the Engine
Priming the engine on your Yard Machine 3.5 HP edger is essential for a successful start, especially after periods of inactivity or when the engine is cold. Locate the primer bulb – typically a clear or translucent dome – on the engine. Press the primer bulb firmly several times (usually 3-5 times) until fuel is visible within the bulb. This action draws fuel from the tank into the carburetor, enriching the air-fuel mixture.
Avoid excessive priming, as this can flood the engine and make starting more difficult. Think of it like balancing elements in a Canva design – a little goes a long way. After priming, proceed to the choke operation (described in the next section) before attempting to start the engine. Proper priming significantly increases the likelihood of a quick and reliable start, ensuring your edging tasks can begin promptly.
Choke Operation
The choke controls the air flow to the carburetor, crucial for starting a cold engine. Locate the choke lever, usually positioned near the engine’s throttle control. For a cold start, move the choke lever to the “Full Choke” or “Closed” position. This restricts airflow, creating a richer fuel mixture needed for ignition in colder temperatures.
Once the engine attempts to start, gradually move the choke lever towards the “Run” or “Open” position. Similar to refining a Canva graphic, this adjustment balances air and fuel. If the engine stalls, return the choke to the “Full Choke” position and repeat the process. A properly adjusted choke ensures a smooth and efficient start, preventing stalling and maximizing engine performance. Avoid running the engine with the choke fully engaged for extended periods, as this can overheat the engine.
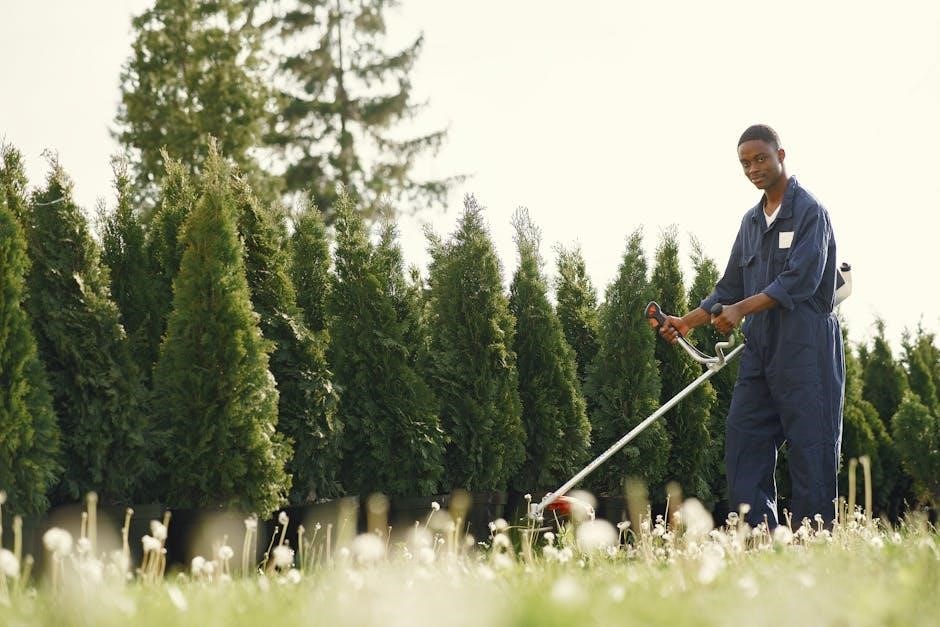
Operating Instructions
Before operation, ensure the area is clear of debris and obstructions. Always wear appropriate safety gear, including eye protection and sturdy footwear. To begin edging, firmly grip the handles and position the edger alongside the surface you wish to define – sidewalks, driveways, or flowerbeds.
Engage the blade by activating the throttle control. Similar to crafting a design in Canva, maintain a consistent speed and pressure for a clean, uniform edge. Guide the edger along the desired line, allowing the blade to cut a shallow groove. Avoid forcing the edger, as this can damage the blade or motor. Overlap each pass slightly to prevent uncut patches. Regularly inspect the cutting depth and adjust as needed for optimal results.
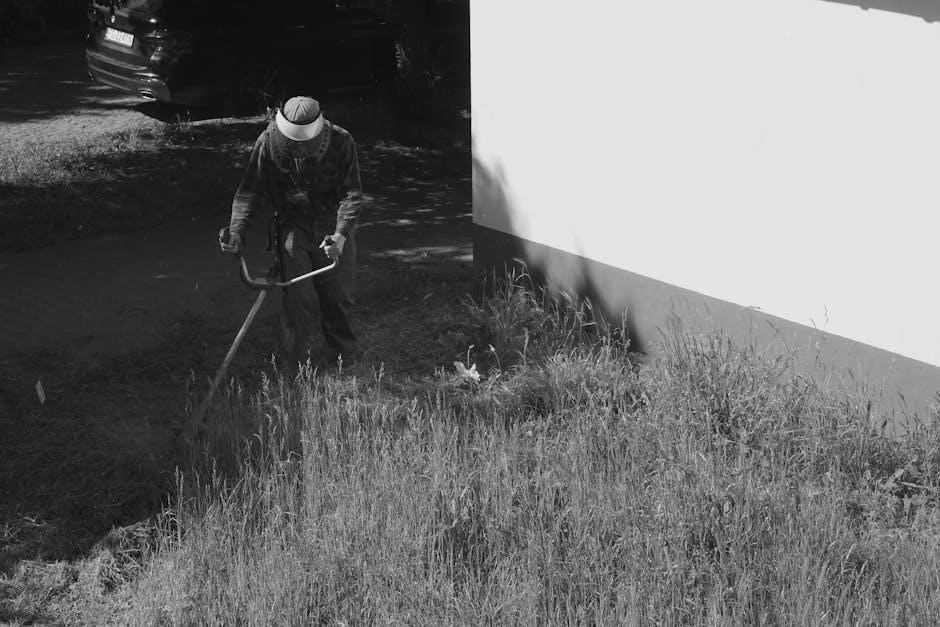
Proper Edging Techniques
Achieving a professional edge requires a systematic approach. Begin by planning your edging route, identifying areas needing definition. Maintain a steady walking pace, guiding the Yard Machine edger smoothly along the desired line. Overlap each pass by approximately one inch to eliminate any uncut grass or soil.
Similar to utilizing Canva’s design tools, precision is key. Avoid abrupt turns or excessive pressure, which can lead to an uneven cut. For tougher areas, reduce your walking speed and allow the blade to work at its own pace. Regularly clear away clippings to maintain visibility and prevent clogging. Remember to edge in multiple passes, gradually increasing the cutting depth until you achieve the desired result. Consistent technique yields a beautifully defined landscape.
Maintaining a Consistent Edge
Consistency is paramount for a polished landscape. After each edging session, inspect the results, noting any areas requiring touch-ups. Regular edging – ideally weekly during peak growing season – prevents overgrowth and simplifies maintenance. Think of it like Canva’s collaborative features; frequent small adjustments yield a superior final product.
To maintain a uniform depth, utilize the edger’s adjustable settings and practice maintaining a consistent walking speed. Pay attention to variations in soil density and grass type, adjusting your technique accordingly. Avoid edging when the ground is excessively wet, as this can lead to an uneven cut and potential damage to the turf. A well-maintained edge enhances curb appeal and demonstrates attention to detail, creating a lasting impression.
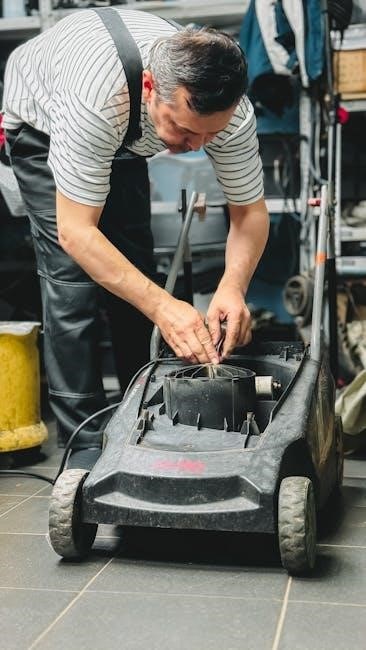
Routine Maintenance
Regular upkeep extends the life of your Yard Machine 3.5 HP edger and ensures optimal performance. After each use, thoroughly clean the edger, removing grass clippings and debris from the blade and housing – much like clearing a Canva design of unnecessary elements. Inspect the blade for damage and sharpness; a dull blade requires more effort and delivers a less clean cut.
Periodically check all bolts and fasteners, tightening them as needed. Lubricate moving parts according to the manufacturer’s recommendations. Before storing the edger for extended periods, stabilize the fuel to prevent degradation. Consistent attention to these details prevents costly repairs and guarantees years of reliable service, mirroring the benefits of a well-maintained creative workflow.
Oil Change Procedures
Maintaining proper oil levels is crucial for the longevity of your Yard Machine 3.5 HP edger’s Briggs & Stratton engine. Refer to your engine’s manual for the correct oil type and capacity – similar to selecting the right template in Canva for a specific project. Warm the engine slightly before draining the old oil; this allows it to flow more freely.
Locate the oil drain plug and carefully remove it, collecting the used oil in a suitable container for responsible disposal. Replace the drain plug and fill the engine with fresh oil to the recommended level, checking the dipstick to confirm. Regularly scheduled oil changes, typically every 25-50 hours of operation, prevent engine wear and ensure smooth, efficient performance.
Spark Plug Replacement
A faulty spark plug can cause starting difficulties or reduced engine performance in your Yard Machine 3.5 HP edger. Similar to choosing the perfect font in Canva, selecting the correct replacement spark plug is vital – consult your engine’s manual for the proper specification. Ensure the engine is cool before attempting replacement to avoid burns.
Carefully remove the spark plug wire, then use a spark plug socket to unscrew the old plug. Inspect the old plug for signs of wear or fouling. Gap the new spark plug to the manufacturer’s specifications using a spark plug gapping tool. Install the new plug, tightening it securely but not over-tightening. Reconnect the spark plug wire, and your edger should be ready for operation.
Blade Sharpening and Replacement
A dull blade significantly reduces edging performance, requiring more effort and delivering a ragged cut. Much like refining a design in Canva, maintaining a sharp blade is crucial for optimal results. Regularly inspect the blade for damage – nicks, cracks, or excessive wear. If sharpening doesn’t restore the blade’s edge, replacement is necessary.
To sharpen, remove the blade (following safety precautions – disconnect the spark plug!). Use a metal file or grinding wheel to carefully restore the cutting edge, maintaining the original angle. When replacing, ensure the new blade is the correct type for your model. Securely attach the new blade, tightening all fasteners to the specified torque. Always wear gloves and eye protection during these procedures.
Sharpening Techniques
Restoring a dull blade to peak performance requires careful technique, much like achieving a polished look within Canva’s design interface. Begin by disconnecting the spark plug for safety. Secure the blade firmly – a vise is ideal. Use a mill bastard file, holding it at the original bevel angle of the blade.
Apply even pressure, moving the file across the blade’s cutting edge in a single direction. Avoid sawing motions. Count the strokes to ensure consistent sharpening on both sides. Alternatively, a bench grinder with a sharpening wheel can be used, but exercise extreme caution to avoid overheating the blade. After sharpening, deburr the blade with a fine file or honing stone for a smoother, cleaner cut.
Blade Removal and Installation
Prior to any blade work, disconnect the spark plug wire – safety first, mirroring the careful planning within a Canva design project. To remove the blade, secure the edger. Use a wrench to loosen and remove the blade bolt and retaining nut. Note the blade’s orientation for correct reinstallation. Inspect the blade adapter for damage; replace if necessary.
When installing a new or sharpened blade, ensure it’s facing the correct direction – the cutting edges should point towards the direction of rotation. Tighten the blade bolt and nut to the manufacturer’s specified torque. A loose blade is dangerous! Double-check the tightness before operating the edger. Proper installation ensures optimal performance and user safety, just as precise alignment is crucial in graphic design.
Troubleshooting Common Issues
Engine failing to start? First, verify fuel levels and ensure the fuel valve is open. Check the spark plug for fouling and replace if needed – akin to refining details in a Canva creation. If it still won’t start, examine the air filter for obstructions. A clogged filter restricts airflow.
Excessive vibration often indicates an unbalanced blade. Remove the blade, inspect for damage, and sharpen or replace it. Ensure the blade is securely fastened. If vibration persists, check the wheel assembly for loose components. Regularly inspecting and addressing these issues maintains optimal performance and extends the edger’s lifespan, much like consistent updates improve a design platform.
Engine Won’t Start
If the 3.5 HP Briggs & Stratton engine refuses to start, begin with the basics. Confirm sufficient fuel in the tank and that the fuel shut-off valve is open. A common culprit is a fouled spark plug; remove, inspect, and replace if necessary – a detail as crucial as selecting the right font in Canva.
Next, check the air filter for dirt or debris, as a clogged filter restricts airflow. Ensure the choke is properly engaged during cold starts, and that you’re priming the engine adequately. If these steps fail, inspect the ignition coil and wiring for damage. Remember, consistent maintenance prevents many starting issues, mirroring the importance of regular software updates for optimal performance.
Edger Vibrates Excessively
Excessive vibration in your Yard Machine 3.5 HP edger often signals an imbalance. First, thoroughly inspect the blade for damage – nicks, bends, or uneven wear. A damaged blade, much like a poorly aligned element in a Canva design, throws everything off balance. Ensure the blade is securely fastened; loose bolts are a frequent cause.
Check the wheel assembly for loose components or damaged bearings. Worn bearings contribute significantly to vibration. Also, examine the engine mounting bolts to confirm they are tight. If the vibration persists after addressing these points, the engine itself may have internal issues requiring professional attention. Regular inspection and tightening of bolts are key to smooth operation.
Parts Diagram and Replacement
Locating parts for your Yard Machine 3.5 HP edger is crucial for maintaining its functionality. Detailed parts diagrams are often available online through the manufacturer’s website or authorized retailers. These diagrams, similar to the layered elements in Canva, illustrate each component’s position and part number.
When ordering replacements, always verify the part number against your edger’s model number to ensure compatibility. Numerous online retailers specialize in small engine parts, offering a wide selection. Consider cross-referencing part numbers across different suppliers to find the best price. Proper identification and accurate ordering prevent delays and ensure a successful repair, keeping your edger in top condition.
Locating Parts Online
Finding replacement parts for your Yard Machine 3.5 HP edger is streamlined through several online resources. Many retailers, much like the diverse templates available in Canva, specialize in outdoor power equipment components. Websites like PartsTree, RepairClinic, and Amazon offer extensive catalogs with detailed parts diagrams.

Begin by having your edger’s model number readily available; this ensures you locate the correct parts. Utilize search filters to narrow down options based on your specific model. Some websites allow you to upload a parts list or diagram for easier identification. Always compare prices and shipping costs before finalizing your purchase. Online forums dedicated to small engine repair can also provide valuable insights and part sourcing tips.
Ordering Replacement Parts
Once you’ve located the necessary replacement parts for your Yard Machine 3;5 HP edger, the ordering process is generally straightforward, mirroring the user-friendly interface of platforms like Canva. Most online retailers offer secure checkout options, accepting major credit cards and often PayPal.
Double-check your order before submitting to confirm the correct parts and quantities. Pay close attention to shipping costs and estimated delivery times. Some retailers offer expedited shipping for urgent repairs. After placing your order, you’ll typically receive a confirmation email with tracking information. Keep this email for reference. Review the retailer’s return policy in case the part is incorrect or defective. Consider ordering extra small parts, like bolts or washers, as they are easily lost during repairs.
Winter Storage Preparation
Preparing your Yard Machine 3.5 HP edger for winter storage is crucial to ensure its longevity and reliable performance next season, much like carefully planning a design project in Canva. Begin by thoroughly cleaning the edger, removing all grass clippings and debris. Drain the fuel tank completely or add a fuel stabilizer to prevent gum formation. Change the engine oil, as old oil can corrode internal components during storage.
Disconnect the spark plug wire to prevent accidental starting. Inspect the blade for damage and sharpen or replace it as needed. Lightly lubricate all moving parts with a silicone-based lubricant. Store the edger in a dry, sheltered location, protected from the elements. Covering it with a tarp provides additional protection.
Fuel Stabilization
Proper fuel stabilization is paramount when preparing your Yard Machine 3.5 HP edger for extended storage, mirroring the importance of a well-structured design in Canva. Gasoline degrades over time, leading to gum and varnish buildup that can clog the carburetor and hinder starting. To prevent this, add a fuel stabilizer to the gasoline in the fuel tank according to the manufacturer’s instructions.

Run the engine for a few minutes after adding the stabilizer to ensure it circulates throughout the fuel system. Alternatively, completely drain the fuel tank, which is a more thorough approach. Always dispose of gasoline responsibly, following local regulations. Stale fuel can cause significant starting problems and require costly repairs, so preventative measures are key to maintaining your edger’s functionality.
Cleaning and Lubrication
Thorough cleaning and lubrication are essential for preserving your Yard Machine 3.5 HP edger, much like maintaining a polished design within Canva. Before storage, remove any grass clippings, dirt, and debris from the edger housing, blade, and wheels. A scraper and brush are helpful tools for this process. Inspect the blade for damage and sharpen or replace it as needed.
Lubricate all moving parts, including the wheel axles and blade shaft, with a light oil. This prevents rust and ensures smooth operation when you next use the edger. Pay particular attention to the engine components, following the manufacturer’s recommendations for lubrication points. A clean and well-lubricated edger will start easier and last longer, reducing the need for future repairs.